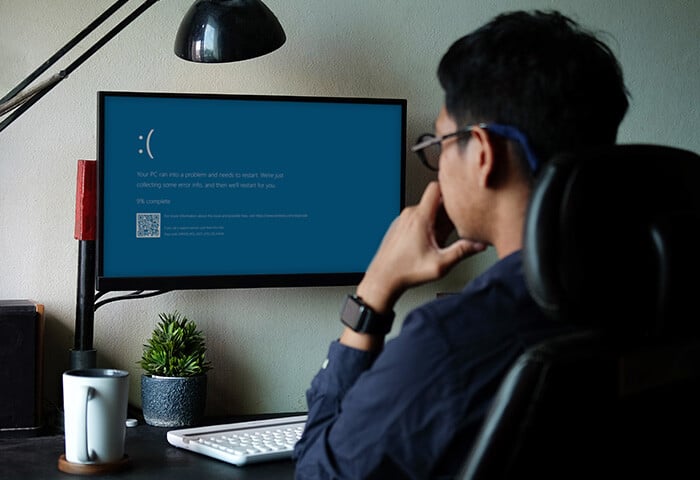
Another method I sometimes use to fight slowdown and prevent crashes is creating a system snapshot. I then use the snapshot to restore the PC to an earlier state. The snapshot is essentially a carbon copy of your entire system … your Windows, your applications, everything! It’s something you put on an external hard disk and go back to in case something goes wrong.
I usually create a snapshot directly after I’ve installed operating systems and applications on a computer and put all the settings the way I want them. This is when the PC runs its fastest and smoothest – no additional crapware, no toolbars, no junk. It’s the situation you want to go back if things get sticky.
How to create a PC snapshot
First, make sure your system is as clean and as well-configured as it can be. Run a cleanup tool; uninstall applications; defrag the drive (if you’ve got a traditional HDD); and update all drivers and applications. As I said above, you want the snapshot to be as pristine as possible.
Make sure you’ve got an external drive that’s got the space to accommodate your files. To check the size of your system disk, go to Computer and right-click on your main drive. Under Properties you’ll see how big it is:

In this case, we’re looking at 255 GB – most of it actually games (GTA V, Witcher 3, and Dark Souls 3) and videos. In my case, I’m keeping it, but you could just as well delete these big hogs to save some space.
To back up your entire system, you could go 3rd party and pay a premium to get extra functionality, but the built-in Windows image tool gets the job done. To use that, click on the Start menu and type in Control panel:

Next, click on System and Security then Backup and Restore (Windows 7). Now select Create a system image. This will work on Windows 7, 8, and 10, so don’t let the name fool you. Follow the wizard and store your image on the external hard disk.

Depending on the size of your partition, this will take a while. Once it’s done, put the disk in a safe place for rainy days, when your PC is starting to slow down.
When and how to restore
Experiencing slowdown? Bugs? Bluescreens? Time to go pull out your system snapshot.
First things first: The snapshot means your files will be “frozen in time.” If you decide to restore your entire PC using the image, you’ll lose all the changes you’ve made to your documents since creating the image. So before I restore things, I make sure that all recent file changes are backed up either to an external drive or a cloud drive, like OneDrive or Dropbox.
Now restart your PC and repeatedly hit SHIFT+F8 right before the Windows logo is seen on the screen. Or plug in your Windows USB thumb drive or insert the DVD and enter the setup. Jump to Repair your PC right from the installer’s welcome screen. Under Advanced, you’ll have the option to restore an image by selecting Troubleshoot. From here, go to the System image recovery setting, plug in your external drive, and select the image (and the earlier state) to go back to.
Bottom line: the ultimate cure
Nothing beats maintaining a PC or reinstalling everything. But having a complete image backup of your PC definitely comes in handy, especially for those times when you don’t want to spend hours troubleshooting or setting things up again – you simply go back to an earlier state when things worked, restore the work you’ve done since, and all is well.


/AVG-How-to-clear-cache-on-your-Mac-Thumb.jpg)


%20and%20how%20to%20remove%20them%20(Signal)/Signal-What-is-a-PUP-Thumb.jpg)
/Signal-The-best-cleaning-software-for-Mac-Thumb.jpg)


