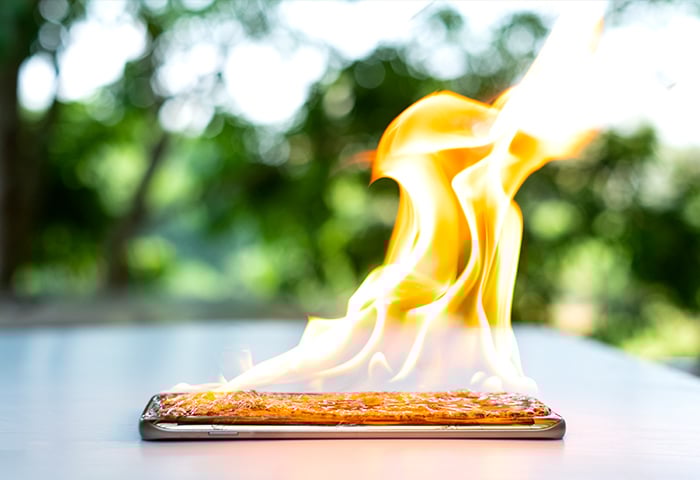
However, if you think you can just chuck the old ones into the trash, think again! Not only is that terrible for the environment (electronics contain things like lead, mercury, nickel, and cadmium, which are really, really toxic if disposed of improperly) but it can also put your security and privacy at risk if someone decides to salvage your hard drive and see all the stuff you got up to over the years. There’s a better, safer way to get rid of your devices, and we’ll be happy to tell you how to do it.
First, make backups
No matter what device you have, when you upgrade to a new one, you’re probably going to want to bring all your old data with you. So before you destroy anything, make sure you backup your data onto an external device so you can re-upload it onto the new device. In doing so, not only will you save your data, you can also save things like your settings and your desktop, so it’ll be like you never left.
You have two ways you can do this, broadly speaking, and doing both is never a bad idea:
An external device
This is the old-fashioned way, but it works like a charm for desktops, PCs, and Macs.
For Windows 7 and up
-
Buy an external hard drive.
-
Plug it in to your device.
-
A pop-up should appear that asks what you want to do with the device. Click Backup.
-
If you don’t see the pop-up, you can select it manually by going to your Systems settings, clicking Backup settings, and selecting your new device from the pull-down window.
-
Change the settings however you wish, then click Turn On to start backing up.
For Macs
-
Buy an external hard drive. Make sure it’s Mac compatible!
-
Plug it in.
-
The Mac should automatically open Time Machine and start the process.
-
Let it run and close when it’s done!
Cloud-based backups
Cloud-based backups work for all your devices: PC, Mac, and mobile.
-
For iPhones, simply go to the Settings, find the backup option, and tap Back Up Now.
-
For Androids, go to Settings, scroll to the Privacy & security section, and then tap Backup & reset. Make sure you have a backup account set up, then turn on Back up my data.
-
For PC and Mac, first you’ll need to find a cloud-based service you trust, then pay for the right to save your backups there. For a comprehensive look at your options, check out PCMag.com.
Got your backup ready? Alright, then let’s start actually dismantling your devices.
Desktop
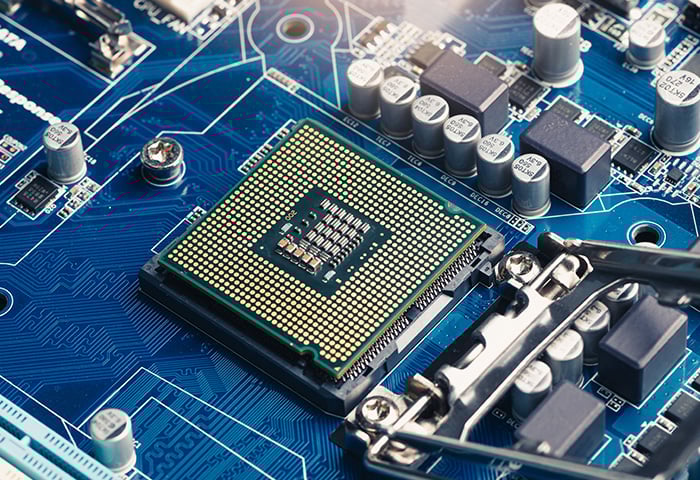
If your desktop has seen better days, the first thing you want to ask is if you really want to replace it, or if you want to upgrade it. The great thing about desktops is that all their parts can be replaced over time, so before you throw the whole thing out, consider putting down a few hundred bucks for a new hard drive, graphics card, or CPU: it’ll save you time and trouble.
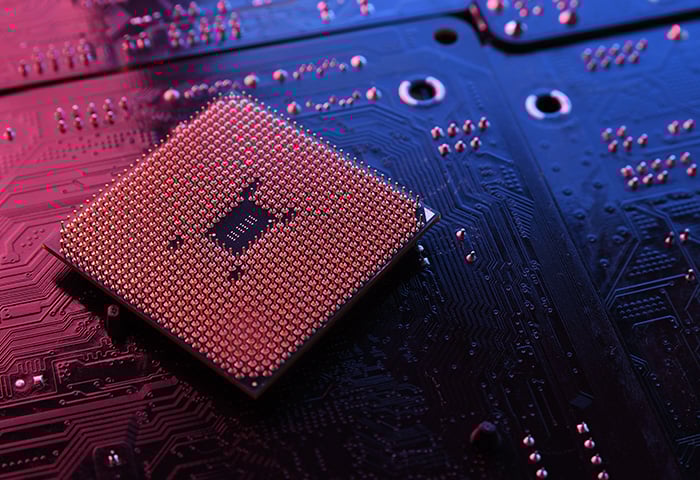
Of course, either way, you’ll need to get rid of your old parts. Most parts can be safely recycled without putting your privacy at risk: the one exception is the hard drive, which is where all your private data is stored. There are two good ways to deal with the hard drive...
Destroy it
If you don’t plan to resell the hard drive (which is a good idea), the smart thing to do is just destroy it entirely. Use a hammer and crush it, drill some holes into it, really tear it up. It might be tempting to just drop it in some water, but data could still be recovered from a hard drive damaged that way: you’ve really gotta bang it up to make sure it’s unusable.
Wipe it
But if you still want the hard drive in one piece, either to resell it or just give it to a friend, you should wipe it clean: even if you really trust the person you’re giving it to. Wiping a hard drive takes more than just dragging everything on your desktop to the recycling bin, though: to make sure your files are 100% unrecoverable, you need to use special software. Fortunately, you have a lot of free options out there: just download the right tool and follow the instructions.
Once you’ve either destroyed or wiped your hard drive, you can safely recycle or donate your parts or entire desktop. Don’t just drop them in your recycling bin, however: you’ll need to find a local recycling center and take them over personally. Fortunately, the internet has made finding your local recycling places easier than ever before.
The planet will thank you for the trouble!
Laptop
It’s entirely possible to upgrade laptops, but it’s not nearly as easy or inexpensive as it is for desktops. For most people, it’ll be far easier — and possibly cheaper — to simply recycle the whole laptop and get a new one than trying to mess around in its insides.
Like desktops, you could destroy the laptop to ensure the data can’t be salvaged (it’s harder to just destroy the hard drive with laptops, because all the parts are so close to each other), but that would be a terrible waste: you’d damage other parts that could be used or salvaged. You’re better off donating or recycling it (which, if you find the right place, you could even get paid to do), but that means you need to erase the hard drive so no one can see your private data.
So the first step is to download a free software wiper and run it. Once all your data has been completely erased from the machine, feel free to take it to a recycling center or donate it to a charity that could use it.
Mobile
We’ve all got a picture or nine that we’d rather people not see: and if you plan on getting rid of your mobile device, it’s all the more important you get rid of it in a way no one else can recover.
The good news is that task is relatively easy, especially for Android users. Pretty much all modern phones use microSD cards to save their data, so all you have to do is crack open the back of your phone, take that chip out of the back (you might need to remove the battery to find it), and your job is done. You can even put the microSD card into a new phone for easy data transferring.
In case you want to just completely wipe your microSD card, that’s a wee bit tricker. First, you’ll need to use a microUSB to USB cable to attach your phone to a laptop or PC. Open up My Computer, locate the microUSB, then just straight-up select every file saved there and delete them. That’s all!
While iPhones aren’t quite as convenient, it’s still easy to erase all your data on them. Just go to General, then Settings, Reset, then finally Erase All Content and Settings. You’ll likely be asked to give your apple username and password to confirm, and once you put your credentials in, your phone will be wiped to factory default setting.
Once it’s been wiped clean, all you have to do is recycle it.
Tablet
Your best bet with tablets is to do a full factory reset, which will purge all the data on your system and return it to just like when you first bought it, any hardware damage notwithstanding.
-
Backup your data (you can do it from the cloud fairly easily)
-
Tap the app drawer.
-
Find and tap the Settings icon.
-
On the left pane, tap Backup and reset.
-
On the right pane, uncheck the Back up my data and Automatic restore checkboxes. Otherwise after you do the factory reset it might simply bring all your data back.
-
Then tap the Factory Reset option and follow the instructions.
That should take care it. But if you want to double-check that everything is really gone, you can do the following:
-
Tap the app drawer.
-
Tap the Settings.
-
On the left pane, tap Storage.
-
On the right pane, tap Miscellaneous files.
-
Tap the checkboxes representing the folders you want to delete (hint: all of them)
-
Then just tap the dustbin and you’re good to go.
Now you can donate, sell, give away, or recycle your tablet with no problems.
Mac
Unlike windows PCs and laptops, Macs have the ability to completely wipe their hard drive from the word go, so you don’t have to download any fancy software or try to pry open their shockingly hard frames.
-
First, make sure you’ve done your backups.
-
Sign out of your iTunes and iCloud accounts. Better safe than sorry!
-
Open up the Disk Utility window from either the macOS Utilities window or the Utilities subfolder of your Applications folder.
-
Click View, then click Show All Devices.
-
Then, click on the disk or drive you wanna erase, then click Erase.
-
You’ll be asked to fill in a few more fields.
-
Name: Just write the name of the drive.
-
Format: Choose either APFS or Mac OS Extended (Journaled). It should tell you by default which one to pick.
-
Scheme (if shown): Choose GUID Partition Map.
-
Then click Erase again and the process will begin again.
Please note: if you want to donate or give away your Mac, you’ll need to reinstall macOS on the newly-erased drive for it to be useable. To do that, all you have to do is reboot the computer and immediately hold Command-R, then follow the instructions.
Otherwise, you’re good to go! Don’t forget to recycle your Mac properly.


/Signal-How-to-scan-and-fix-hard-drives-with-CHKDSK-in-Windows-Thumb.jpg)